.png)
Overlaying an image over a video is a great way to brand it. You get to add an element of uniqueness to your video that emphasizes the core message and makes your content stand out.
With Keevi, you can easily overlay a picture over video you’re working on or a video published on YouTube. You can add charts, logos, icons, graphs, funny cat pictures — anything that works for you.
If you prefer, you can also overlay a video over video, such as an animation that can serve as a clickable call to action or a video tutorial with a video overlay of the person explaining it.

Do you feel you don’t have the right video editing skills to create an awesome video with a picture overlay? Not to worry if you use Keevi.
Keevi is a free online tool that comes with a beginner-friendly user interface. It has practical features that make it possible to add multiple overlays to your videos. You can add other elements like text, stickers, audio, and subtitles. You can also choose when and where each overlay will appear on the video.
With Keevi, you get to overlay a picture over a video that is already uploaded on YouTube or one that is on your computer.
We will show you how you can upload the video or extract it from YouTube, edit it, overlay a picture, and then publish it anywhere.
In Keevi’s upload panel, you get four options to source your video:
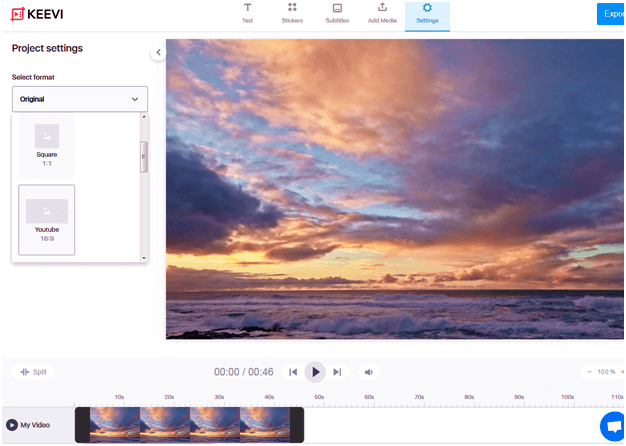
Once your video is successfully uploaded, you can resize it depending on the social media channel you want to use it. And you don’t have to worry about getting the correct dimensions. Keevi has made it easier for you by recommending suitable sizes for each social media platform.
Go to Settings, and click on ‘Select Format.’ Scroll down to make your selection from options such as:
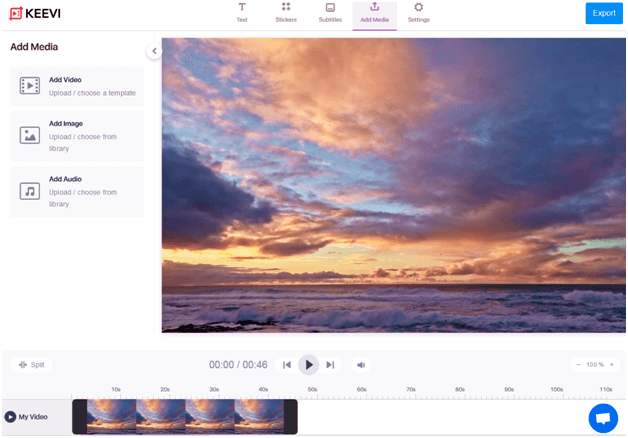
The next step is to add image overlay to video.
Click on ‘Add Media’ and on the left, select ‘Add Image.’ It will redirect you to the upload panel.
Here you get the options to upload an image from your computer or choose one of the royalty-free stock images provided by Keevi.
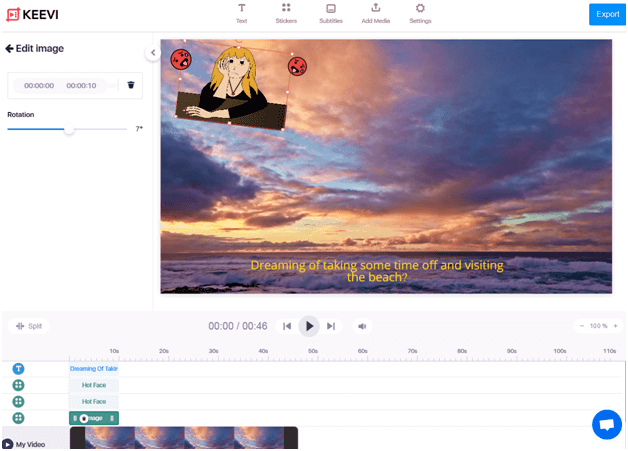
The image will overlay on your video. You can then:
There is no limit to the number of images you can add.
To add another image, simply click on ‘Add Media’ again and select ‘Add Image.’ Select a different start and end time for the image by moving its sub-track on the timeline. You can do the same with subsequent shots.
You can also:
It’s best to replay the video one more time before publishing. You can delete any unwanted element by selecting it in the timeline and hitting delete.
Once you complete the edits, it’s time to share your video with the world. Click on Export, and it will render your video with a superimposed image within seconds.
You can either download it or directly share it on any social media platform.

You can put an image over a video online in three easy steps using Keevi:
Whether you need to overlay a chart, logo, GIF, animation, or any form of an image to your video, it’s possible through Keevi — a free online tool. All you need is to upload your video first, then upload your image. The image will appear on top of your video. You can then resize and reposition the image as you see fit and add multiple overlays to fit your needs. Finally, export your video or push it directly to your social media channels.
You can superimpose video over video using Keevi. Upload your video first, then upload the video you want to overlay. Make your edits on the Keevi media player, such as resizing it, repositioning it, and selecting a start and end time for the video overlay.
Want to boost your product education?
Educating your customers about your product ensures that they get their desired outcome when using your product or service.
Studies show 69% of people find learning about a product or service over video better than learning over text. You can appeal to their emotions using a picture overlay and the stickers feature in Keevi.
Make your content marketing effective
Your content marketing efforts will be wasted if you cannot get your audience to retain the message. But if you use a video, you increase viewers’ chances of retention.
Studies have shown that viewers can retain 95% of the message than the 10% they retain when you use text.
The rich text element allows you to create and format headings, paragraphs, blockquotes, images, and video all in one place instead of having to add and format them individually. Just double-click and easily create content.
A rich text element can be used with static or dynamic content. For static content, just drop it into any page and begin editing. For dynamic content, add a rich text field to any collection and then connect a rich text element to that field in the settings panel. Voila!
Headings, paragraphs, blockquotes, figures, images, and figure captions can all be styled after a class is added to the rich text element using the "When inside of" nested selector system.
The GIF Captioner is not the only tool Keevi has to offer. You can spice up your content by using Keevi to:
