
Video content is an important part of marketing campaigns on social media. Businesses are continually relying on such content to reach and influence their audience. After all, this content is usually easy to understand.
With subtitles, you are simply making it easier for your audience to gain more from your videos.
Linkedin - a professional networking platform - claims 80% of their videos are watched with the sound off. In addition, video content designed for silent viewing is 70% more likely to be watched all the way through to the end. And according to Facebook, adding captions to your videos can increase their view time by 12%.
Most of us have a working idea of how subtitles work. After all, we are likely to have seen a few subtitles ourselves by watching different videos and movies. But subtitles alone won’t cut it - you need to make sure that they are accessible to your audience as well.
This is why you need hardcoded subtitles.

In this article, we will explore what hardcoded subtitles are, how to add them to your videos and by the end of it all, you will be able to answer the following questions:
- What are hardcoded subtitles?
- What do you need to do to get them?
- Will using hardcoded subtitles increase success in business?
What Are Hardcoded Subtitles
Have you ever watched a movie with subtitles that won’t turn off?
Sometimes, these subtitles are written in a language you do not understand. Other times, these subtitles are in a language you do understand and therefore do not require but cannot turn off. This could potentially end up ruining your movie experience.
The subtitles or captions that cannot turn off are called hardcoded subtitles or captions.
Usually, there are two types of captions. Those that can be turned off and those that can’t.
These subtitles are usually hardcoded into the video. Hardcoding in this case means embedding the subtitle files into the source code of the video.
Why Hardcoded Subtitles
Hardcoded captions or subtitles are important because:
- Their application helps improve the quality of information for a wide range of people.
- They give alternative value to viewers.
For example, deaf and hard of hearing people who are heavily reliant on subtitles and captions when watching videos will greatly benefit from hardcoded videos.
They usually prefer such subtitles and captions because some players have settings that turn off subtitles by default. Having hardcoded subtitles and captions allows them to watch videos without having to tinker with their respective media players.
Hardcoded subtitles are great for alternative value, especially on social media. Currently, social media sites are introducing speech recognition algorithms that automatically create subtitles for viewers. These subtitles are, however, not 100% accurate and might end up interfering with your message.
Your hardcoded subtitles ensure that your audience gets to read whatever you are presenting on your video without distracting inaccuracies.
Benefits of Hardcoded Subtitles Over Others
Why not just add a subtitle file and allow people to turn them on and off?
Two of the main reasons why subtitles are hardcoded include:
- They don’t come with extra requirements for plugins and files.
- Some social media platforms do not allow users to upload caption files to go along with their videos.
By using hardcoded subtitles in your videos, you will have given viewers the chance to see them regardless of their media players or platforms.
Hardcoding Tools to Make your Work Easier
Currently, there are two general ways of adding subtitles, whether hardcoded or not, to your videos.
- You can use tools that are readily available. These are not usually hard to use but might require some time to learn.
- You can hire someone to hardcode subtitles for you.
Below is a table detailing some of the tools available at your disposal and their rating based on availability for different OS and popularity.
Tool
Rating
VLC
9/10
Handbrake
8/10
7/10
Videopad
5/10
VideoProc
6/10
Kdenlive
7/10
Windows Movie Maker
8/10
Hardcode Subtitles With VLC
When it comes to media players, VLC is a behemoth compared to most players.
Since it was launched in 2005, VLC has been downloaded more than 1 billion times making it one of the most popular media player platforms. The fact that it is completely free makes it the preferred choice of many.
This means that there is a high probability that some of the people who watch your content will use VLC.

Source: pixabay.com
Also, VLC is a powerful player that is able to play a wide range of formats without you having to download any plugins for it.
Requirements for Hardcoding subtitles on VLC
Before you get on with it, you will require three things for a successful exercise. These include:
Requirements
Format
A SubRip subtitle file.
This is the file that contains your subtitles
.srt
Your desired video
Any format
VLC media player
Depending on your OS
If you do not have a VLC media player, you can easily download one.
The good news is that it is easy to hardcode subtitles into VLC. Below are some of the ways you can do that.
How to Hardcode Subtitles using VLC
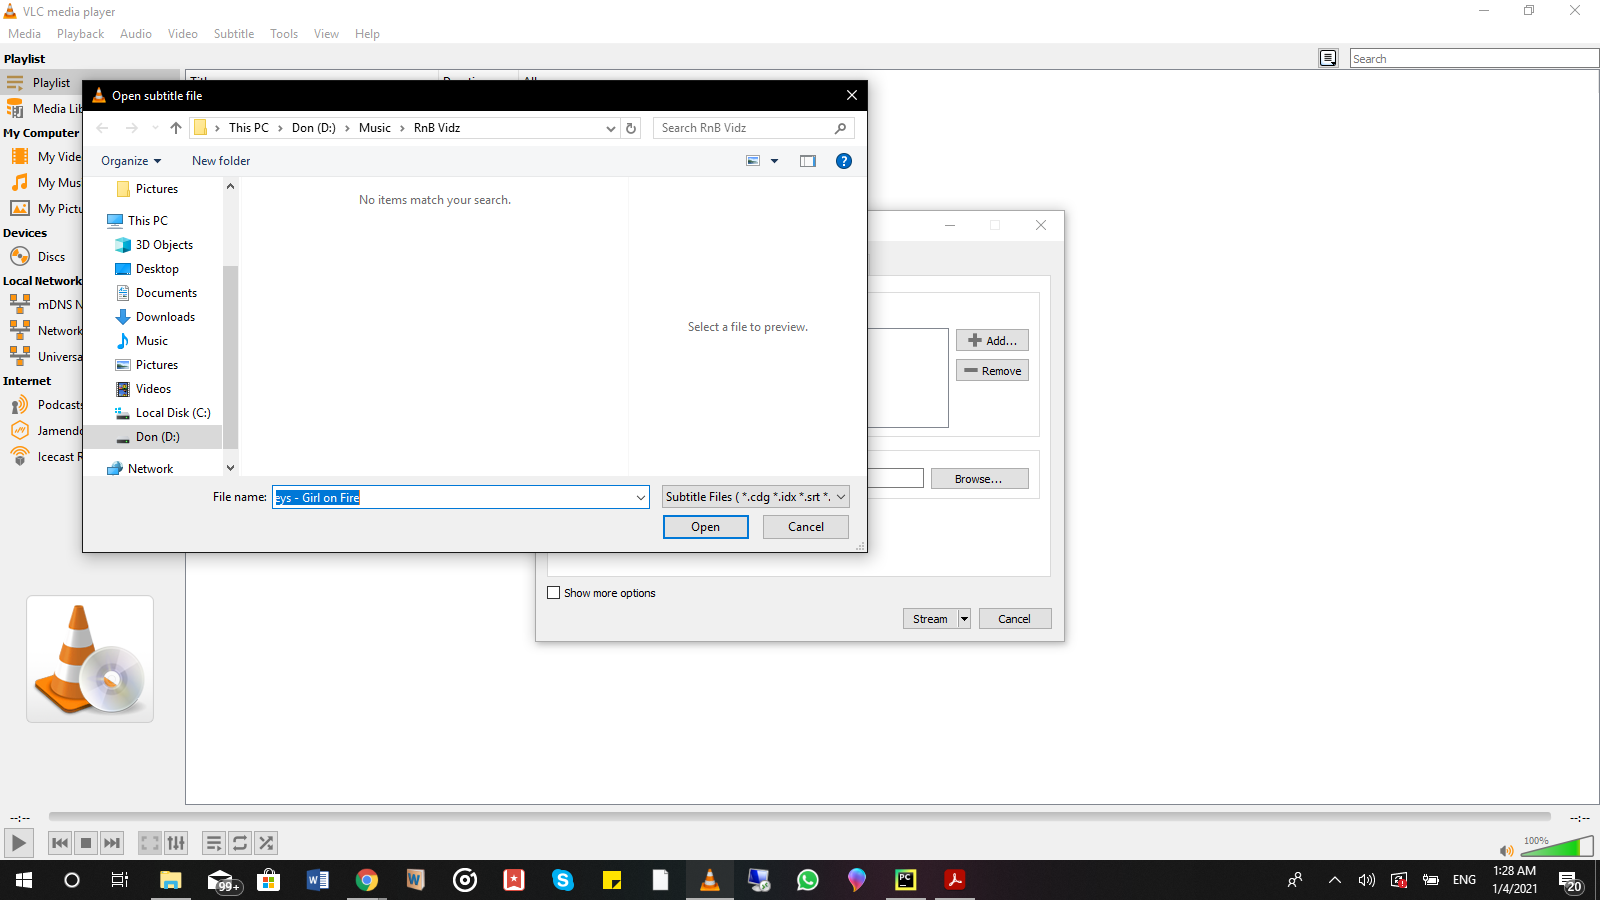
Open your VLC player
Make sure to open the VLC player on its own rather than using the video option. This allows you to easily access options on the interface. Also, you will still be required to select the video you want to hardcode subtitles on later.
Add your Video on the Stream Menu
There are different ways of doing this.
You can click on the CTRL+S buttons to open the stream menu or you can simply click on the media tab and select the stream menu.

Here, you will see the add button which allows you to add the video you need to hardcode subtitles to.
Select the Captions
You will have to select the subtitles you would like to hardcode into the video. These subtitles will come in the form of an SRT file.

VLC will provide you with an interface that allows you to find and import your subtitle file. Once done, click on the stream button at the bottom of the window. This will take you to the next page where you will be required to confirm the source of the video.
Create a Stream Output File Destination
Your new video file will need an output destination. You can do this by selecting File on the drop-down menu and click the add button next to it.
You will be taken to the next screen to choose the name of the new file. Add the name and the extension at the end.
Extensions could come in the form of (.mp4, .mkv, .ogg, .avi, and many more).
Activate Transcoding Subtitles Option
You will get a transcoding option section with a box which will prompt you to activate transcoding. Click on it and then click on the spanner icon on the right side of the screen. It should be next to the drop-down menu.

You will be taken to a new window. Here, click on the Subtitles tab and select the subtitles box and the overlay subtitles on the video box.
Click save and then next.
Final step
At the bottom right side of the window, you will see a stream button. Click on it. The video is supposed to playback from start to finish. Once done, the play head will also move from start to finish on the timeline.
Do not interrupt this process by shutting down your VLC.
Once done, you can now quit VLC.

Watch this video to learn more about how to hardsub captions into your video.
How to Hardcode Subtitles to MP4
MP4 is a popular format used to store digital multimedia such as video and audio. It can also be used to store subtitles and images.

Other than being compatible with a number of multimedia players, mp4 also allows people to stream content over the internet. It only has one official file extension .mp4. It is preferred for use over the internet due to its compression abilities which do not affect video quality.
With this in mind, it helps to know how to embed subtitles into an mp4 file.
There are a couple of ways you could do that. They include using Handbrake and VLC.
Hardcoding subtitles using Handbrake
Handbrake allows you to burn subtitles into an mp4 file. It allows formats such as SRT, ASS, and SSA which can be used for both mp4 and mkv videos.
Here is how to use Handbrake to hardcode subtitles on your videos.
- Open Handbrake
- Add your video files
- Choose a video format
- Add your subtitle file
- Choose the output file location
- Add the subtitle overlay

Source: https://handbrake.fr/
For a more detailed process:
- Open Handbrake and Launch it -
Make sure you are using the latest version of the software. The older version could only allow you to burn SRT files. You can check the version you are using by clicking on the About Handbrake link. Select Update and check for updates.
The software will start to check whether there are any later versions. If there are, it will ask you to download.
- Add your video files to Handbrake -
Click on the File button to add your video file. This is the video you will want to add subtitles to.

You also have the option of dragging and dropping your desired video file on the right side of the interface. This will automatically load it on the software.
- Choose your video format -
Once you have uploaded the source video, click Presets on the main interface and select a video profile. These profiles are usually ready-made and give you the option of selecting the highest resolution of 1080p. This allows you to save your video in a high resolution which would improve the experience of your audience.

Once done, go to the summary section and click the folded Format tab. Here, you will have to select your desired output. In this case, you are selecting .mp4.
You will be provided with a variety of tabs which help you decide the quality, processing speed, and size of your output file. While it is not an important step, you may decide to take some time and go through the tabs nonetheless.
- Add your subtitle files -
Click on the subtitles button and import your subtitle files. The new version of Handbrake allows you to import SRT, ASS, and SSA files. There is a selection box, select it and burn the files into your video.

- Choose the Output File Location -
Once you have finished burning your files into your video, click on the browse button and select a destination file folder and a file name.

Then click Save.
- Add the Subtitle Overlay -
Click on the Start Codec button in green at the menu bar on top of your interface and wait for the hardcoding to finish.

While a lot of factors can affect the speed at which subtitles are hardcoded into your videos, it usually takes less than 30 minutes for videos that are shorter than 30 minutes in length.
Hardcode Subtitles using VideoProc
VideoProc is yet another application that helps you embed subtitles into your videos. It is the preferred choice of many for its seamlessness, customizable nature, fast speed and high-quality engine.

Source: https://www.videoproc.com/
The application allows you to carry out different actions such as crop, cut, watermark, convert, rotate, and trim videos while burning subtitles.
To get started:
- Run VideoProc on your computer
- Load your video file
- Choose Edit Video and the Subtitle
- Import the saved file
- Set the output path
- Run
For more detailed steps:
- Run VideoProc on your computer -
VideoProc comes with both Mac and Windows versions. On the homepage, you will select the video option you want to use.

- Load your video file -
There is a + sign button at the bottom of your interface which allows you to load your desired video. VideoProc will queue up your video and present you with a Codec Option menu on the far right.

Once you click on it, you will be taken to another page where you can add or edit your subtitles.
- Choose Edit Video and the Subtitle -
The top of your interface will have a number of options. Click on the Edit video option and then go down below and click on the subtitle button. You will then have to add your subtitle file by using the Add Subtitle File option.

This section allows you to also search for downloadable subtitle files from the internet if you do not have one saved in your computer.
- Import the Saved File
You will need to do a couple of things on this interface before you can move on to the next step.

- Check the enabled button on the far left of the interface
- Check the Burn-in option on the screen
- Adjust the position number to set the subtitles
- Select the font of your subtitles
- Click done at the bottom
5. Set the Output Path
This allows you to find the processed file easily. You can set it in a familiar or exclusive folder on your computer.
Remember to check the Hardware acceleration option. This speeds up the process and reduces the processing period.
Click RUN at the bottom and wait for the process to finish.
Hardcoding Subtitles on macOS
Mac users can also hardcode subtitles into their videos. While the process has been made almost similar for all operating systems, there are some differences in the way each OS interacts with its users.

Source: pixabay.com
However, like with all operating systems, you will have the option of either using VLC or Handbrake to burn subtitles into your videos.
Open VLC on your Mac -
Once your VLC is open, click on the File tab and select convert and stream. You will get a dialogue box which will highlight or indicate the selected video file.

Source: https://arstechnica.com/
Click on the Open Media option to add the subtitle file and select your desired profile in the Choose Profile section.
You can customize your subtitles on the Customize tab which allows you to make changes from a number of options.
You will get a new dialogue box which allows you to select the subtitle format. This option only gives you two options i.e. the DVB subtitle and T.140. Select the DVB and check the box next to the Overlay subtitles on the video.
Apply changes by clicking on apply and browse the folder in which you would like to save your file. Once done, save all your changes.
Additional Tools for Adding Subtitles to Videos
While VLC, Handbrake and VideoProc are great tools for hardcoding, the internet is full of applications you can use as an alternative.
We went ahead and compiled a list of three more tools you can use for hardcoding subtitles.
iMovie
This software runs on iOS and macOS. It does a decent job of helping you add subtitles into your files. It also comes with added features such as rotate, stabilizes, overlay, cut and crop to help with your video editing.

Source https://support.apple.com/
VideoPad Video Editor
VideoPad Video Editor is an all-rounded platform that allows Mac, Windows, Android, and iOS users to edit their videos. The software also makes it easy to add subtitles to videos. VideoPad does, however, come with pricing options for both personal and commercial videos.
Kdenlive
Kdenlive is a great option if you want to build tutorials with 2D tiles and screen/sound capture. It is an open-source video editor that allows users to create, edit and later distribute videos for public consumption.
Also, the software comes with subtitling functions that will help you create the right subtitles for your videos. Kdenlive also gives users the ability to create plain or animated text for their subtitles.
Windows Movie Maker (Discontinued)
This is a Windows-operated software that gives you more than just the video editing abilities that most video editors need. It also allows you to create subtitles or captions while using its wide range of features to improve the quality of the video.

Source: https://www.windowscentral.com/
Tool Summary
The table below summarizes the tools and lets you know whether they come with a downloadable version or not.
Tools
Accessibility
VLC
Downloadable
Handbrake
Downloadable
iMovie
Downloadable for mac users
Videopad
Downloadable
VideoProc
Downloadable
Kdenlive
Downloadable
Downloadable
Hardcoding Subtitles Rules
The trick in offering great value with your videos does not merely rely on creating subtitles. Millions of videos have hardcoded subtitles that completely ruin the experience of the viewer.

Remember, once you burn subtitles into a video, they cannot be turned off or edited. Therefore, make sure that they do not distract or annoy the audience.
Also, it is important to make sure that your subtitles make sense to your audience.
Here are a number of things to consider when creating subtitles for your audience.
- Errors and careless mistakes can influence the way some viewers perceive your content.
- Make sure your subtitles stay on the screen long rough to be read by your viewers.
- Your subtitles should not be more than 2 lines of text at any point.
- If you are writing dialogue, let each sentence start on a new line.
- Keep your font legible enough so that your viewers don’t have to struggle to read.
Conclusion
People prefer watching videos over reading is a known fact. In YouTube’s own admission, people watch over 1 billion hours of videos each day on its platform. Given that most people prefer watching videos with subtitles in them, adding them on your videos will create the right impression and help convert more of your potential customers. According to Tubular Insights, 64 percent of people will buy a product after watching its video on social media platforms.
Hardcoded subtitles come with immense benefits that would help boost your business. Creating hardcoded subtitles for your videos is not as hard as it would appear on the surface. All you need to have is an.SRT file that contains your subtitles, the right tools such as VLC and your desired video.
Modern technology has provided you with tools to make the job seamless. Software such as iMovie makes it easy to hardcode subtitles for mac users. Tools such as VLC media player allows both macOS and Windows users to hardcode subtitles into their videos through easy steps.
.jpg)

