
With about one billion monthly users, Instagram is one of the top destinations for individuals and business owners to connect with others and meet new customers. To do this, one needs fun and engaging visual content, such as GIFs.
However, unlike Facebook and Twitter, uploading Gifs to Instagram is not easy and this is why this blog will make this daunting task easier for you by teaching you how to upload Gifs to Instagram in a step-by-step manner.
Can you Upload GIFs to Instagram directly?
No, it is impossible to upload GIFs directly to an Instagram feed from your phone’s gallery, any other traditional source, or even the app.
If you choose to do so, the picture-sharing platform won’t format it correctly. Instead, it will treat the entire GIF as a single still image, defeating the allure of GIFs as short, fun videos in loops.
A workaround is an MP4 file of the GIF with repeating images to give the appearance of a loop. This requires effort and technical knowledge, and even then, the result is not always optimal.
However, there is an effective way to get around this and it involves using another Facebook-owned platform.
How to Upload a GIF to Instagram with GIPHY App
You may have heard of GIPHY. It is one of the leading sources of looped images, where users can search and share GIFs online. It also has integrations with several social platforms and mobile keyboards, making it accessible from practically anywhere.
GIPHY is also the only real way to upload a GIF to Instagram, thanks to its acquisition by Facebook in 2020. Because of the purchase, Instagram users can now upload GIFs to the photo-sharing platform by downloading the GIPHY app.
The app has both desktop and mobile versions for iOS and Android devices, and it is free. All you have to do is sign up to the platform or log in with your Facebook account to begin sharing GIFs on Instagram.
Here is a more detailed step-by-step guide on how to upload a GIF to Instagram with GIPHY.
STEP 1 - Download the App and Create your Account
The first thing you need to do is download and install the GIPHY app on your phone. You can do that from here or here for Android and iOS devices, respectively.

After downloading and installing the app, you need to sign up for an account, and GIPHY provides a few options.

As you can see, you can sign up with your —
- Facebook account
- Apple account
- Email address
Either option works, but signing up with your Facebook account allows you to post GIFs to Instagram and Facebook more easily.
STEP 2 - Search for the GIF to Share
Now that you are signed on to GIPHY, you can start searching for GIFs to share. One of the cool things about the app is that you can search by category.
From the homepage, you can browse categories like Memes, Reactions, Emojis, etc. You can also browse trending and popular GIFs.

It is also possible to search the database using all kinds of keywords.
STEP 3 - Share the GIF
Once you find the perfect GIF, the final thing is to share. Simply tap the GIF you wish to share to your Instagram feed to bring up the action buttons.
You will see a paper airplane icon. Select it to view the destination options. It should look like the image below.

You will see a list of logos for different apps, including Instagram, Facebook, Twitter, and Snapchat. Select Instagram.
GIPHY will automatically convert the GIF into a 15-second video, along with the option to post it directly to your feed or story.
Once you select the option, GIPHY will launch the Instagram app, where you can then post the video as you would a standard Instagram post.
That’s it.
How to Upload Gif to Instagram Stories
Instagram Stories allows users to share temporary photos and videos on that platform that disappear after 24 hours.
The feature is known for driving engagement, notably increasing the amount of time spent on the app by 30 minutes.
By default, it is possible to add stickers, time stamps, and doodles to a story, but it is also possible to upload GIFs.
There are three distinct ways to do this, one of them we discussed above. Only this time, instead of choosing Instagram feed as your destination, you select Story and proceed accordingly.
The other two options are Create Mode and Boomerang, and both exclusively involve the Instagram app.
Here is a guide on how to use these methods to upload GIFs to Instagram Stories.
Create Mode
- To upload to your story using Create Mode, go to Story and tap on Create.
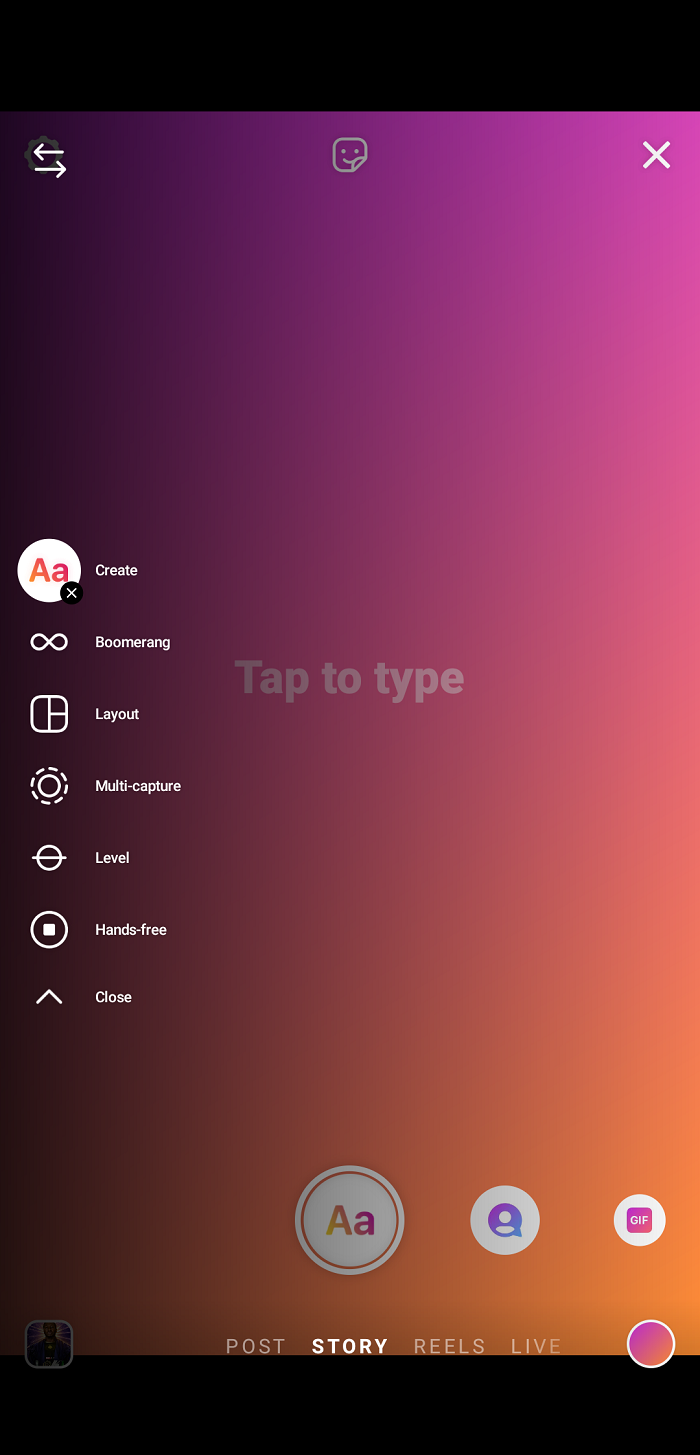
- Then, in the list of options at the bottom of the screen, scroll to GIF.

- From GIF, enter the keyword for the gif you want to share and scroll through the options. Then select it and complete the process like any other type of story.

The cool thing about using Create Mode to upload GIFs to your Stories is that you can insert a GIF in a GIF post using the sticker icon at the top of the screen.
Boomerang
Uploading via Create Mode is a good option if the GIF you want to share is already on GIPHY.
However, to upload a GIF-like image of your own to your Stories, Boomerang is the better option, especially for creating a GIF of an action. Here’s how to use it.
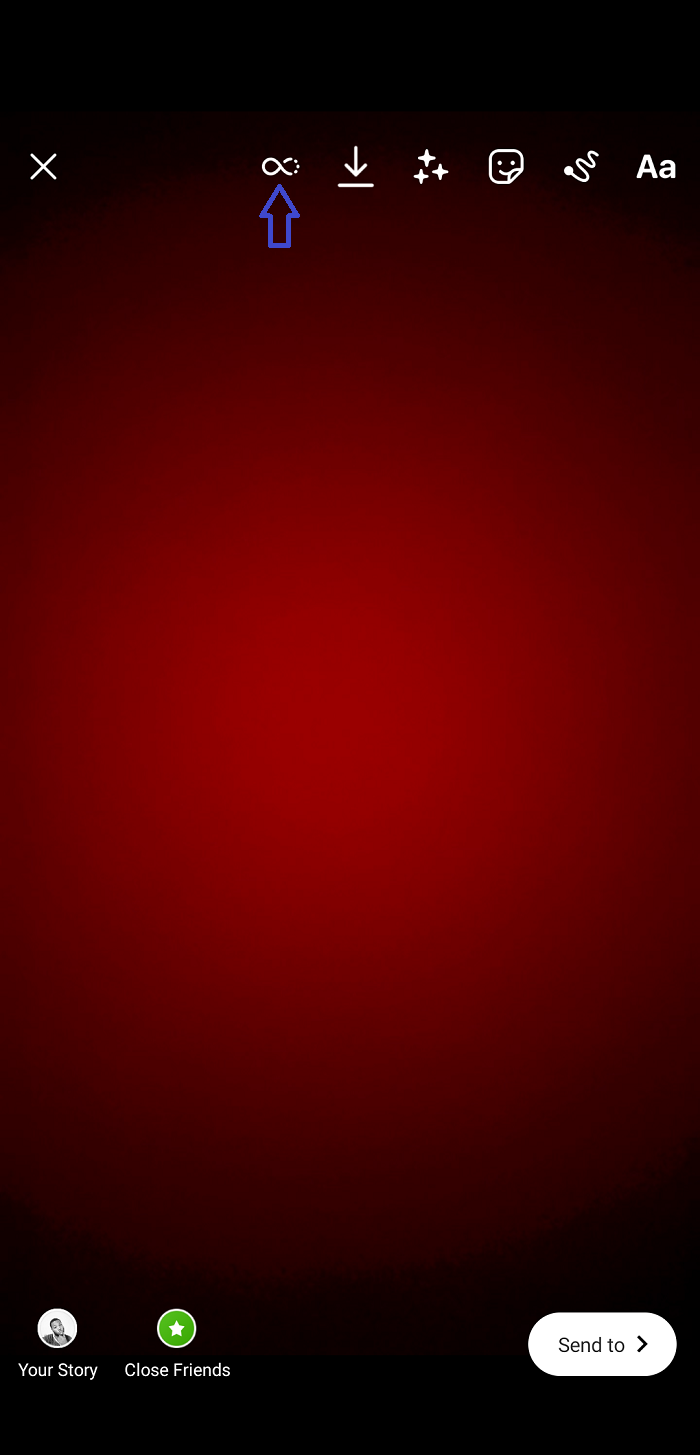
- Open the Stories feature in the Instagram app and tap the Boomerang icon.

- Hold your camera to begin filming.
- Once you are ready to capture the footage, tap the Boomerang shutter button to record.
When you tap the button, the app will rapidly capture ten photos stitched together and looped back and forth like a GIF.
Next, edit the Boomerang by tapping the incomplete Boomerang icon at the top of the screen to view the editing options.
Here you can apply effects like —
- Slow-mo to half the speed
- Echo to create a double vision effect
- Duo to apply a rewind effect
You can also use the trimming feature to edit the length of your Boomerang.
When you finish editing, return to the main screen and post your story.
How to Upload your Animated GIFs to Instagram
As helpful as Boomerang is for creating your own animated GIFs, it only applies to Instagram Stories. To upload animated GIFs from a video or series of images, you will need another solution, whether it's yours or existing content.
Two good solutions are GIF Maker and GIPHY Upload, and both are available on GIPHY and accessible via desktop but only GIF Maker, also known as GIPHY Create, is available on the mobile app.
With GIPHY Upload, you can turn a video into a 30-second gif. It supports file formats like MP4, MOV, and GIF. You can also upload videos from existing content on platforms like YouTube and Vimeo using their URL.
However, you can do more with GIPHY Create. It supports more file formats, including JPG and PNG for GIF and Sticker creation.
Furthermore, it has filters, stickers and you can add a text box to the video. It is also possible to draw on the video. However, you can only create 15 seconds GIFs with GIPHY Create.
Here is how to use GIPHY Create on your mobile app to upload your animated GIFs to Instagram.
STEP 1 - Create and Import your Video
Open the GIPHY app you downloaded earlier to access GIPHY Create. You should see a Create button at the top right corner of the homepage.

Tap it to launch Create.
Next, tap the media folder thumbnail at the bottom left corner of the screen to open your gallery.

Once the gallery is opened, find and select the video you want to convert into a GIF.
STEP 2 - Edit the Video
As mentioned earlier, you can do a few things to customize the final look of the GIF before you upload it.
Once the video is in the Create editor, tap the buttons at the lower end of the screen to add text, filters, and stickers.

Your video is likely to be longer than the acceptable GIF length. But you can drag the yellow sliders left or right to the exact moments you want to turn into a GIF.
To do this, tap the scissors button to activate the Trimming feature.
Once you are satisfied with your edit, tap the blue arrow button to complete the process.
STEP 3 - Upload the Video
You will see three options after tapping the blue button.

Select Save GIF to save the edited gif to your device without uploading, or Start Over to return to the editing page.
If you wish to upload the GIF to your account, select Upload to GIPHY, then choose your preferred visibility option.

You can set it to private so that only you and those with a link can see the GIF. If you make it public, add tags with relevant keywords for it to appear in searches.
Make sure you check the Terms of Service box, then click Upload to GIPHY.
STEP 4 - Publish on Instagram
After clicking Upload to GIPHY, the app will upload the newly created GIF to your account.

From there, select the GIF as you would any other image on the platform.
Then tap the paper airplane icon and follow the steps (How to Upload a GIF to Instagram with GIPHY app explained above) to share on your Instagram feed.
With this, you have successfully uploaded your own animated GIF on Instagram.
How to Convert your Videos to GIFs with EZGif
You have options other than GIPHY to convert your videos to GIFs. EZGif is an excellent alternative for transforming your videos into a GIF to upload on Instagram.
It also supports the conversion of multiple images into a single GIF file. The web-based application also supports various video formats, including WebM, AVI, MP4, and FLV for GIF conversion.
Here is a quick look at how to use EZGIF to create GIFs with your videos.
STEP 1 - Upload your Video
Go to the EZGIF website on your browser.
When the page loads, click Choose File to open the dialog box and upload the video from your computer.
If the video is already online, copy and paste the video link in the URL box.

STEP 2 - Choose GIF Settings
Once the upload is complete, choose how you want the GIF to appear in the list of settings shown below.
You can select the start and end time, frame rate, and output size.

Once done, click Convert to GIF! to start the conversion.
STEP 3 - Download the GIF and Upload to GIPHY
The final result will be available for preview under Output GIF. If you are not satisfied, you can scroll back up and redo your settings.
It is also possible to execute additional edits like setting the playback speed or cropping out parts of the gif.

When you are satisfied, click the Save button at the right end of the action buttons to download the GIF to your computer.
Once the download is complete, go to GIPHY Upload on your browser and login into your account.

Next, upload the downloaded file to GIPHY by clicking Choose File under the GIF section.
Once the file is in your account, you can then share it to your Instagram feed or story using the process explained above.
Wrapping it Up
While you cannot upload GIFs directly to an Instagram feed from your phone’s gallery, GIPHY offers an effective alternative.
We have discussed how to use it to create GIFs from your videos or existing content. Hopefully, you will now find it much easier to upload Gifs to Instagram.
Visit our learning page for more tutorials on helpful workarounds like this and other video editing tips.
.jpg)

